
Carving Techniques for Beginners: Stop-Cut, V-Cut, Push-Cut, and Pull-Cut Explained Simply
If you want to start carving, you should first learn the most important basic cuts. Because woodcarving is not just about a sharp knife, but above all about control, safety, and the right cutting technique.
In this article, we explain the four most important carving techniques for beginners: Stop-Cut, V-Cut, Push-Cut, and Pull-Cut. These basic techniques will help you to remove wood cleanly, work out details, and control the shaping of figures or simple carving projects.
Table of Contents
- Why are basic cuts so important in carving?
- Stop-Cut: The cut for safe demarcation
- V-Cut: For lines, depressions, and details
- Push-Cut: For rough material removal
- Pull-Cut: The potato peeler cut
- Which carving technique is suitable for what?
- Safety in carving: What you should pay attention to
- Which wood is suitable for practicing carving techniques?
- Frequently asked questions about carving techniques for beginners
-
Conclusion: These 4 carving techniques form the basis of woodcarving
Why are basic cuts so important in carving?
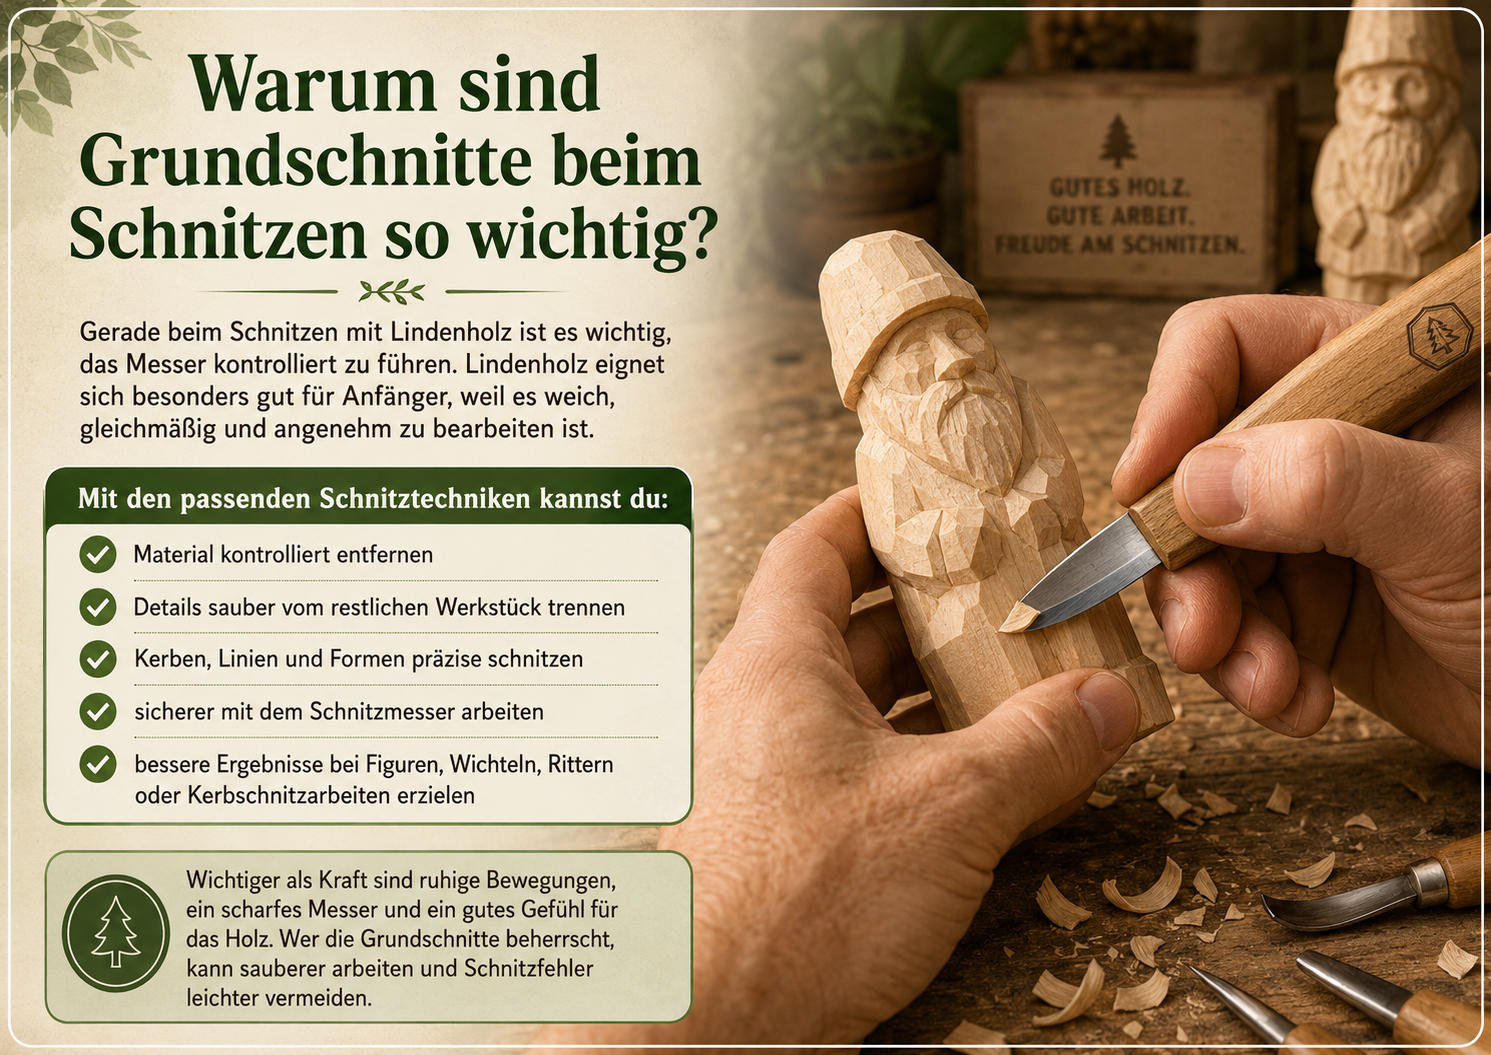
Especially when carving with basswood, it is important to guide the knife with control. Basswood is particularly suitable for beginners because it is soft, even-grained, and pleasant to work with. Nevertheless, a cut can quickly go too deep or run out of control if the right technique is missing.
With the right carving techniques, you can:
- ✔ Remove material controllably
- ✔ Separate details cleanly from the rest of the workpiece
- ✔ Carve notches, lines, and shapes precisely
- ✔ Work more safely with the carving knife
- ✔ Achieve better results with figures, gnomes, knights, or chip carving
Carving is not about using as much force as possible. Much more important are calm movements, a sharp knife, and a good feel for the wood. Those who master the basic cuts can work more cleanly and avoid carving mistakes more easily.
Stop-Cut: The cut for safe demarcation
The Stop-Cut, also called Stop Cut, is one of the most important techniques in carving. The blade is pressed into the wood at a 90-degree angle. Then you carve with another cut up to this line so that the knife stops exactly there.
The Stop-Cut therefore serves as a boundary. It prevents a cut from going too deep into the wood. This allows you to cleanly separate individual areas and work more controllably.
How the Stop-Cut works:
- ✔ The blade is placed vertically into the wood at a 90-degree angle
- ✔ The cut serves as a boundary
- ✔ Then you carve sideways up to this cut
- ✔ The knife stops at the incised line
- ✔ This allows details to be cleanly separated from each other
The Stop-Cut is particularly helpful when you want to cleanly define individual areas of a figure. For example, with a small knight, you can separate the hand and the sword from the rest of the body. This creates clear contours without accidentally cutting too far into the wood.
The Stop-Cut is also very useful for faces, clothing, arms, legs, or small embellishments. It is therefore one of the first techniques that beginners should learn in carving.
V-Cut: For lines, depressions, and details
The V-Cut, also known as a chip carving cut, is used to carve a V-shaped depression into the wood. You cut from both sides at an angle of approximately 45 degrees. The two cuts meet in the middle and form a clean V-shape.
This technique is particularly well suited for lines, contours, folds, patterns, and small details. The V-Cut is very often used in classic chip carving, but is also very helpful when carving figures.
How the V-Cut works:
- ✔ Cut diagonally into the wood from one side
- ✔ Then cut diagonally from the other side as well
- ✔ Both cuts meet in the middle
- ✔ The removed piece of wood creates a V-shaped notch
- ✔ The cleaner the cuts meet, the clearer the line
When carving a gnome, you can use the V-Cut to create the hat, especially if it should have the typical bend or a clear edge. Folds in clothing, hair, beard structures, or decorative lines can also be carved well with this technique.
The V-Cut is also ideal for beginners who want to carve their first patterns into wood. With a little practice, clean lines, small ornaments, and uniform depressions can be created.
Push-Cut: For rough material removal
If you want to remove coarser material from the wood, the Push-Cut is suitable. This technique is often used to carve a basic shape out of the wood.
The Push-Cut essentially consists of two movements: the controlled pressing of the knife and a slight rotation around the thumb. This allows the knife to be guided very precisely and the wood to be removed controllably.
How the Push-Cut works:
- ✔ The thumb rests on the back half of the blade spine
- ✔ This allows you to push the knife controllably in one direction
- ✔ In the second part, the knife can rotate slightly around the thumb
- ✔ This allows additional material to be removed
- ✔ Pushing and rotating can also be combined
Sometimes it is enough to push the knife forward lightly. Sometimes a small rotating movement is more effective. Often, the combination of pressure and rotation is best for removing wood controllably and cleanly.
The Push-Cut is particularly well suited for rough material removal, for example, when shaping figures, gnomes, animals, or simple carving blanks. With this technique, you bring your workpiece step by step into the desired basic shape.
It is important that you do not work with too much force. Several small cuts are usually safer and cleaner than a single deep cut.
Pull-Cut: The potato peeler cut
The Pull-Cut, also known as the draw cut, works similarly to peeling a potato. That's why it is often described as the potato peeler cut. The knife is pulled towards the body or hand.
This technique is very effective, but beginners should be particularly careful when performing it, as the blade moves towards the thumb.
How the Pull-Cut works more safely:
- ✔ The knife is pulled controllably towards the body
- ✔ There should always be some distance between the thumb and the knife
- ✔ The wood is held with the thumb only in the lower third
- ✔ This creates more safety distance to the blade
- ✔ Work slowly and without too much force
Special caution is important with the Pull-Cut. If you slip, your thumb should not be directly in the cutting direction. Therefore, consciously maintain distance between your thumb and the knife and grip the wood in such a way that your thumb is not in the path of the cut.
The Pull-Cut is good for fine corrections, curves, and minor adjustments to the workpiece. Once you have more control over your knife, this cut is very useful for precise finishing work.
Which carving technique is suitable for what?
Each carving technique has its own purpose. If you know when to use which cut, you will work more safely and achieve cleaner results.
Stop-Cut
The Stop-Cut is ideal for delimiting cuts and cleanly separating details. It helps you carve clear transitions and contours.
V-Cut
The V-Cut is perfect for notches, lines, patterns, folds, hats, clothing, and decorative elements. It is used particularly frequently in chip carving and for small details.
Push-Cut
The Push-Cut is very good for rough material removal and shaping the basic contour. With it, you bring your workpiece into the desired shape.
Pull-Cut
The Pull-Cut is suitable for fine corrections, curves, and controlled finishing work. Due to the cutting direction, you should pay particular attention to your thumb position here.
Safety in carving: What you should pay attention to
When carving, you should always work in a controlled and calm manner. A sharp carving knife is important because dull knives require more force and can therefore slip more easily.
Important safety tips:
- ✔ Always work slowly and controllably
- ✔ Use several small cuts instead of one deep cut
- ✔ Pay attention to your thumb position
- ✔ Maintain distance between thumb and knife during the Pull-Cut
- ✔ Use cut-resistant gloves
- ✔ Avoid cutting directly towards your fingers
- ✔ Pay attention to the grain direction of the wood
- ✔ For beginners, use easy-to-carve wood like basswood
Especially with the Pull-Cut, the correct hand position is crucial. If you only grip the wood in the lower third with your thumb, there is more distance to the blade and the risk of injury is reduced.
Even with the Push-Cut, you should make sure not to push the knife forward uncontrollably with force. The calmer you work, the safer and cleaner your result will be.
Which wood is suitable for practicing carving techniques?
For beginners, basswood is particularly recommended. It is soft, evenly grown, and easy to work with a carving knife. This makes it easier for you to practice Stop-Cut, V-Cut, Push-Cut, and Pull-Cut.
Small carving blanks, wooden blocks, or pre-prepared figures are also good for learning the different techniques step by step. Especially at the beginning, it makes sense not to start directly with a complicated project, but to practice the individual cuts first on simple pieces of wood.
Note: Wood is a natural product. Color, grain, small knots, slight discolorations, or small cracks can occur and are not a defect in quality. They make each piece of wood a unique item.
Frequently asked questions about carving techniques for beginners
What is a Stop-Cut in carving?
A Stop-Cut is a vertical cut into the wood at a 90-degree angle. It serves to stop another cut at this point and to cleanly separate details from each other.
What is the difference between V-Cut and Stop-Cut?
The Stop-Cut is a delimiting cut. The V-Cut consists of two oblique cuts that meet in the middle and form a V-shaped notch.
What is the Push-Cut used for?
The Push-Cut is used to remove material controllably from the wood. It is particularly well suited for rough shapes and the initial material removal during carving.
Is the Pull-Cut suitable for beginners?
Yes, but beginners should be especially careful with the Pull-Cut. Since the knife is pulled towards the thumb, a safe distance between the blade and the thumb is very important.
Which wood is best for learning to carve?
Basswood is ideal for beginners. It is soft, easy to control, and excellent for practicing the most important carving techniques.
Do I need cut-resistant gloves for carving?
Cut-resistant gloves are highly recommended, especially for beginners. They increase safety and protect hands in case of uncontrolled movements or slips.
Conclusion: These 4 carving techniques form the basis of woodcarving
With Stop-Cut, V-Cut, Push-Cut, and Pull-Cut, you will learn the most important basics of woodcarving. The Stop-Cut helps you to safely delimit cuts. The V-Cut is suitable for notches, lines, and details. With the Push-Cut, you controllably remove coarser material. The Pull-Cut helps you with fine corrections, but requires particular attention to thumb position.
If you regularly practice these four carving techniques, you will gain more control over your knife and can gradually achieve better carving results. Especially with easy-to-carve basswood and a sharp carving knife, getting started is much easier.