
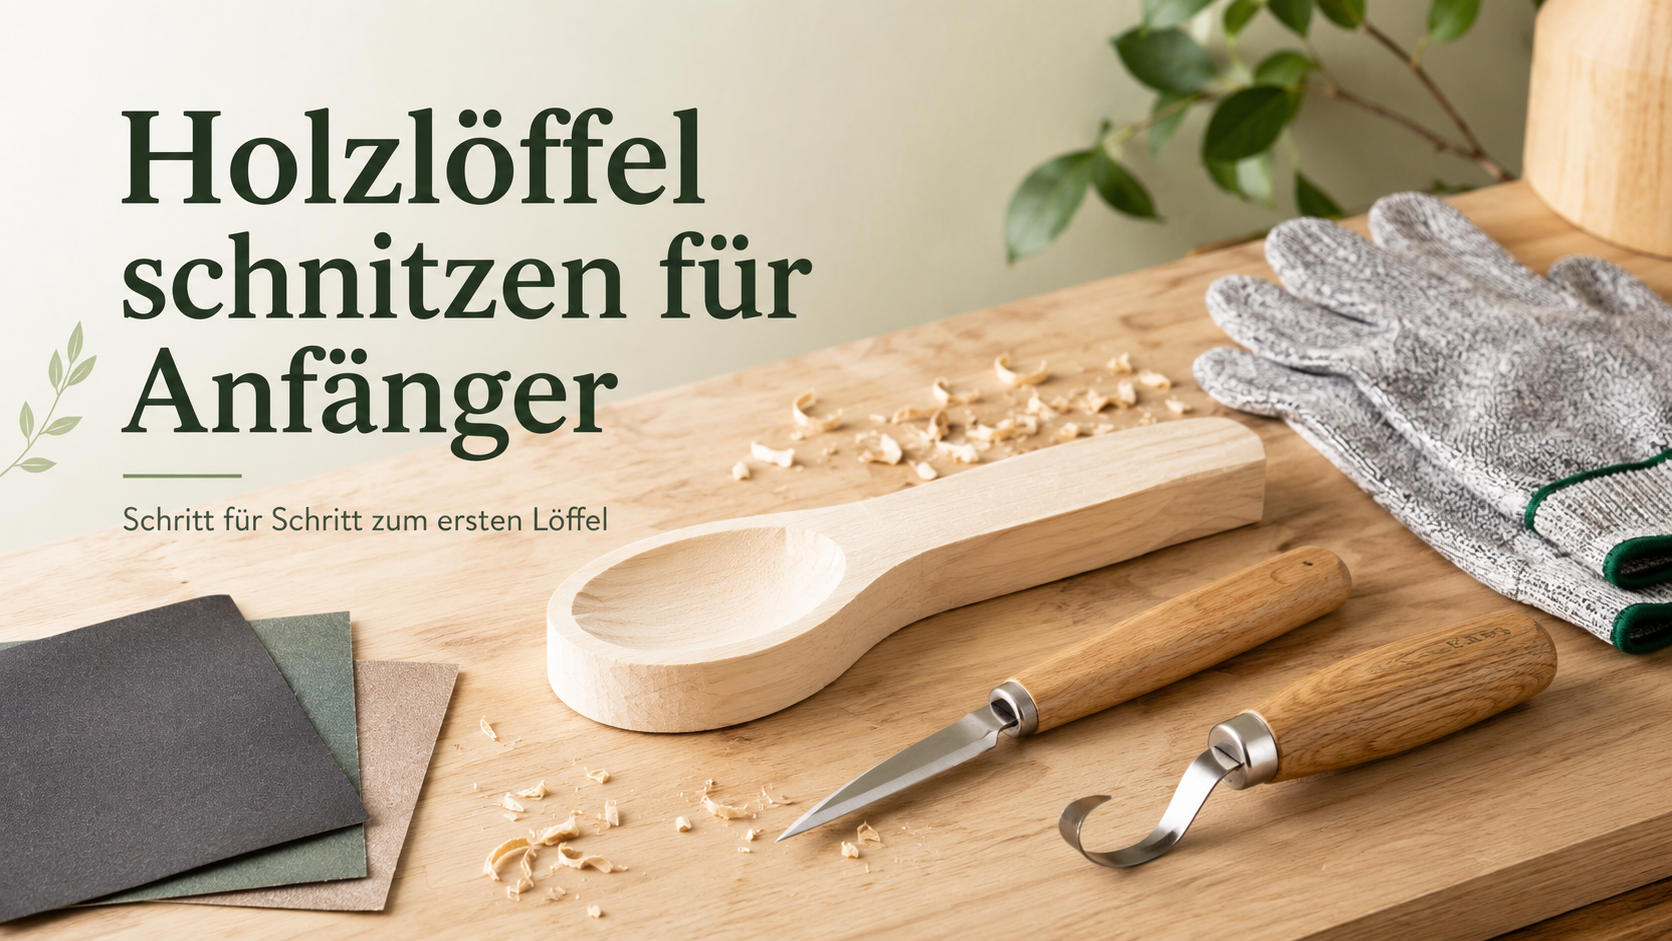
Learn to Carve Spoons – Easy Tips for Beginners
Carving wooden spoons is one of the most rewarding projects if you want to learn woodcarving. A spoon is manageable, practical, and you'll end up holding a handmade wooden item.
With a suitable spoon blank, a sharp carving knife, a hook knife for the bowl, some sandpaper, and patience, even a beginner can make a beautiful wooden spoon.
In this wooden spoon carving guide, you'll learn step-by-step which wood is suitable, which tools you need, and what to look out for when carving spoons as a beginner.
Table of Contents
- Why wooden spoon carving is ideal for beginners
- Which wood is suitable for spoon carving?
- Which tools do you need?
- Step-by-step guide: Carving a wooden spoon
- Common beginner mistakes in spoon carving
- Sanding, oiling, and caring for your wooden spoon
- Safety while carving
- Suitable products from the carving shop
- FAQ – frequently asked questions about carving wooden spoons
Why wooden spoon carving is ideal for beginners
A wooden spoon is an ideal first carving project because the shape is easy to understand, and you learn many important basic techniques. You work not only with flat surfaces but also with curves, transitions, and a small indentation.
When learning to carve spoons, beginners particularly learn how wood behaves and how important grain direction, sharp knives, and steady work are.
What you learn when carving spoons
- roughing out the basic shape from a blank
- carving clean curves
- shaping the spoon bowl with a hook knife
- refining transitions between handle and bowl
- sanding and smoothing the surface
- better understanding wood, grain, and grain direction
Another advantage: spoon carving is relaxing. You work slowly, concentrated, and step-by-step you see how a useful object emerges from a piece of wood.
Which wood is suitable for spoon carving?

For your first wooden spoon, you should choose a wood that is easy to work with. Wood that is too hard makes the entry unnecessarily difficult and can quickly lead to frustration.
Carving wood for beginners is particularly suitable if it is soft, even, and as free of knots as possible.
Basswood
Basswood is particularly well suited for beginners. It is easy to cut, has a fine and even structure, and forgives small mistakes better than many harder types of wood.
Advantages of basswood for spoon carving
- soft and pleasant to work with
- even wood structure
- ideal for simple shapes and first spoons
- well suited for carving knives and hook knives
- very popular for learning to carve
If you want to carve a basswood spoon, a pre-prepared spoon blank is particularly practical. The basic shape is already present, and you can better concentrate on carving, shaping, and refining.
Alder wood
Alder wood is slightly harder than basswood but is also easy to work with. It has a beautiful warm color and is well suited for simple utility items, small spoons, or decorative woodworks.
Advantages of alder wood
- beautiful warm wood color
- good alternative to basswood
- slightly harder, but still good for carving
- suitable for simple utility items
- interesting for beginners with some patience
Maple, birch, or fruit wood
Maple, birch, or fruit wood can result in very beautiful wooden spoons. However, these types of wood are usually harder and more difficult to carve. For beginners, they are therefore more suitable if some initial experience with carving knives and hook knives is already present.
For starters, we recommend basswood or alder wood. After that, you can slowly work your way up to harder woods.
Important note about wood
Wood is a natural product. Color, grain, small knots, slight discolorations, or small cracks can occur and are not a defect in quality. These natural differences make each workpiece unique and give your self-carved wooden spoon its own character.
Which tools do you need?
For getting started, you don't need a large workshop. A small, well-chosen basic set of tools is enough to carve your first wooden spoon.
Basic equipment for beginners
- Spoon blank made of suitable carving wood
- Straight carving knife for the outer shape
- Hook knife or spoon knife for the bowl
- Sandpaper in various grits
- Cut-resistant gloves for added safety
- Wood oil or food-safe finish for the surface
- Pencil for tracing the shape
What are the tools used for?
A spoon blank makes getting started easier because the basic shape is already prepared. This way, you don't have to start with a completely angular piece of wood.
You use the straight carving knife for the outer shape, the handle, the curves, and the transitions. For beginners, a well-controllable carving knife is particularly important.
You need the hook knife or spoon knife for the bowl of the spoon. With it, you carve out the indentation where liquid or food can later be held.
Sandpaper ensures a pleasant surface at the end. Especially the handle should feel smooth and comfortable.
Cut-resistant gloves provide additional safety, especially if you don't have much experience with carving knives yet.
Step-by-step guide: Carving a wooden spoon
This wooden spoon carving guide is deliberately kept simple. Work slowly, controlled, and without pressure. When carving, it's better to remove several small shavings than too much wood at once.

Step 1: Sketch the spoon shape
First, draw the desired spoon shape onto your blank. Mark the bowl, the handle, and the outer contour. For beginners, a simple, slightly oval spoon shape is ideal.
If you're working with a pre-prepared spoon blank, the basic shape is often already present. Nevertheless, it helps to re-trace the lines with a pencil. This gives you better orientation when carving.
Step 2: Roughly carve the outer shape
Begin with the rough outer shape. Slowly remove material with the carving knife and work your way step by step to the desired shape.
Important: always carve away from your body and pay attention to the grain direction of the wood. If the knife suddenly snags or tears, you are probably working against the grain. Then turn the workpiece and try from the other direction.
For beginners: it's better to remove small shavings than to take away too much wood at once.
Step 3: Shape the handle
Now, shape the handle. It should feel comfortable in your hand and have no sharp edges. Slowly round the sides and continuously check how the handle feels.
A good spoon handle doesn't have to be perfectly symmetrical. The important thing is that it fits well in your hand and remains stable. Don't carve the handle too thin, especially on your first try.
Step 4: Carve the spoon bowl
For the bowl, use a hook knife or spoon knife. Work slowly from the inside out and remove only small shavings.
The spoon bowl should be even but not too deep. Beginners especially tend to remove too much material. Leave enough wood at the bottom and sides so the spoon remains stable.
Again, pay attention to controlled movements. A sharp hook knife makes the work much easier.
Step 5: Refine transitions and curves
Now, meticulously work on the transitions between the handle, spoon bowl, and outer shape. This step largely determines how harmonious your wooden spoon will look in the end.
Be especially careful at the point where the handle transitions into the spoon bowl. Enough material should remain there so that the spoon does not break.
Slightly round edges and remove rough irregularities with the carving knife before you begin sanding.
Step 6: Sand the wooden spoon
When sanding, start with a coarser grit and slowly work your way up to finer grits. A sensible sequence is, for example:
- Grit 120 for rough marks
- Grit 180 for finer transitions
- Grit 240 for a smoother surface
- Grit 320 for the final sanding
Don't sand too early with fine sandpaper. If there are still deep knife marks, you first need a coarser grit.
Especially the handle and the rim of the spoon should be pleasantly smooth. You can work the bowl with small pieces of sandpaper or rolled-up sandpaper.
Step 7: Treat the surface
If the wooden spoon is to be used as an utensil, a food-safe surface treatment is advisable. Suitable wood oils or waxes that are safe for food contact are appropriate for this.
Apply the oil thinly, let it soak in, and remove excess oil with a cloth. After drying, the surface usually feels more pleasant and is better protected.
Common beginner mistakes in spoon carving
Typical mistakes happen when carving spoons for beginners. Many of them can be easily avoided if you work slowly and deliberately.
- Using wood that is too hard: Hard wood makes getting started difficult and carving more strenuous.
- Working with a dull knife: Dull knives slip more easily and leave uneven cuts.
- Removing too much material at once: Small shavings are more controlled and safer.
- Carving against the grain: The wood can tear out, and the surface becomes uneven.
- Making the spoon bowl too deep: The spoon can become unstable or even break.
- Starting with fine sandpaper too early: Rough marks must first be removed with a coarser grit.
- Working without cut-resistant gloves: Beginners especially should protect their hands additionally.
Sanding, oiling, and caring for your wooden spoon
A well-sanded wooden spoon feels pleasant in the hand and has a high-quality finish. Therefore, it's worth allocating enough time for the final touches.

Things to keep in mind
- Sanding ensures a pleasant feel
- Wood oil protects the surface
- Do not put wooden spoons in the dishwasher
- Clean by hand after use
- Do not leave soaking in water for extended periods
- Re-oil occasionally
It is best to clean your wooden spoon with warm water and a mild detergent. Then dry thoroughly and let it air dry.
If the surface appears dry after extended use, you can re-treat the spoon with a suitable food-safe oil.
Safety while carving
Safety is particularly important when carving wooden spoons. Even though a spoon is a simple beginner's project, you are working with sharp tools.

Important safety rules
- always carve away from your body
- hold the workpiece securely
- work slowly and in a controlled manner
- use sharp knives, as dull knives slip more easily
- wear cut-resistant gloves
- use hook knives with extreme caution
- only allow children to carve under supervision
- do not rush when carving
Sharp knives are safer than dull knives for carving because they cut more controllably. Nevertheless, caution is important. Take your time and concentrate on every movement.
Recommendation from EdpaS
For getting started with spoon carving, we recommend a suitable spoon blank, a sharp carving knife, a hook knife for the bowl, and sandpaper for finishing. In the carving shop, you'll find suitable products for beginners and hobby carvers.

Suitable product groups from the carving shop
- Spoon blanks made of wood for simple first projects
- Carving knives for beginners to shape the handle and outer contour
- Hook knives and spoon knives for the spoon bowl
- Carving knife sets for a complete start
- Sandpaper and sharpening accessories for clean results
- Cut-resistant gloves for more safety when working
- Carving wood for beginners such as basswood or alder wood
- Products related to carving for beginners
If you want to make wooden spoons yourself, a coordinated set of blank, carving knife, hook knife, and sandpaper is particularly practical. This way, you have everything at hand and can start your first spoon project right away.
FAQ – frequently asked questions about carving wooden spoons
Which wood is best suited for spoon carving?
Basswood is particularly well suited for beginners because it is soft, even, and easy to work with. Alder wood can also be a good choice if you want a slightly harder wood with a warm color.
Which knife do I need for spoon carving?
For the outer shape, you need a straight carving knife. For the bowl, you use a hook knife or spoon knife. This combination is ideal if you want to carve a wooden spoon.
Can you carve a wooden spoon from a blank?
Yes, a spoon blank is ideal for beginners. The rough shape is already prepared, and you can better concentrate on carving, shaping, sanding, and refining.
How long does it take to carve a wooden spoon?
That depends on the size, type of wood, and experience. Beginners should expect several hours and consciously take their time. When carving, it's not about speed, but about controlled and clean work.
Does a carved wooden spoon need to be oiled?
If the spoon is to be used, a food-safe surface treatment is advisable. Wood oil or suitable wax protects the surface and ensures a more pleasant feel.
Is spoon carving suitable for children?
Yes, spoon carving can also be suitable for children, but only with child-friendly tools, cut-resistant gloves, and under adult supervision. For beginners, simple shapes and soft wood should be used.
Can I carve a wooden spoon without a hook knife?
For the spoon bowl, a hook knife or spoon knife is highly recommended. Without this tool, it is significantly more difficult to create a clean indentation.
Which sandpaper do I need for a wooden spoon?
For a start, several grits are suitable, for example, 120, 180, 240, and 320. Start with a coarser grit and gradually work your way to finer ones.
Is basswood suitable for everyday objects?
Lime wood is suitable for practice and simple carving. If the spoon is to be used regularly as a utensil, it should be cleanly sanded and treated with a suitable food-safe finish.