
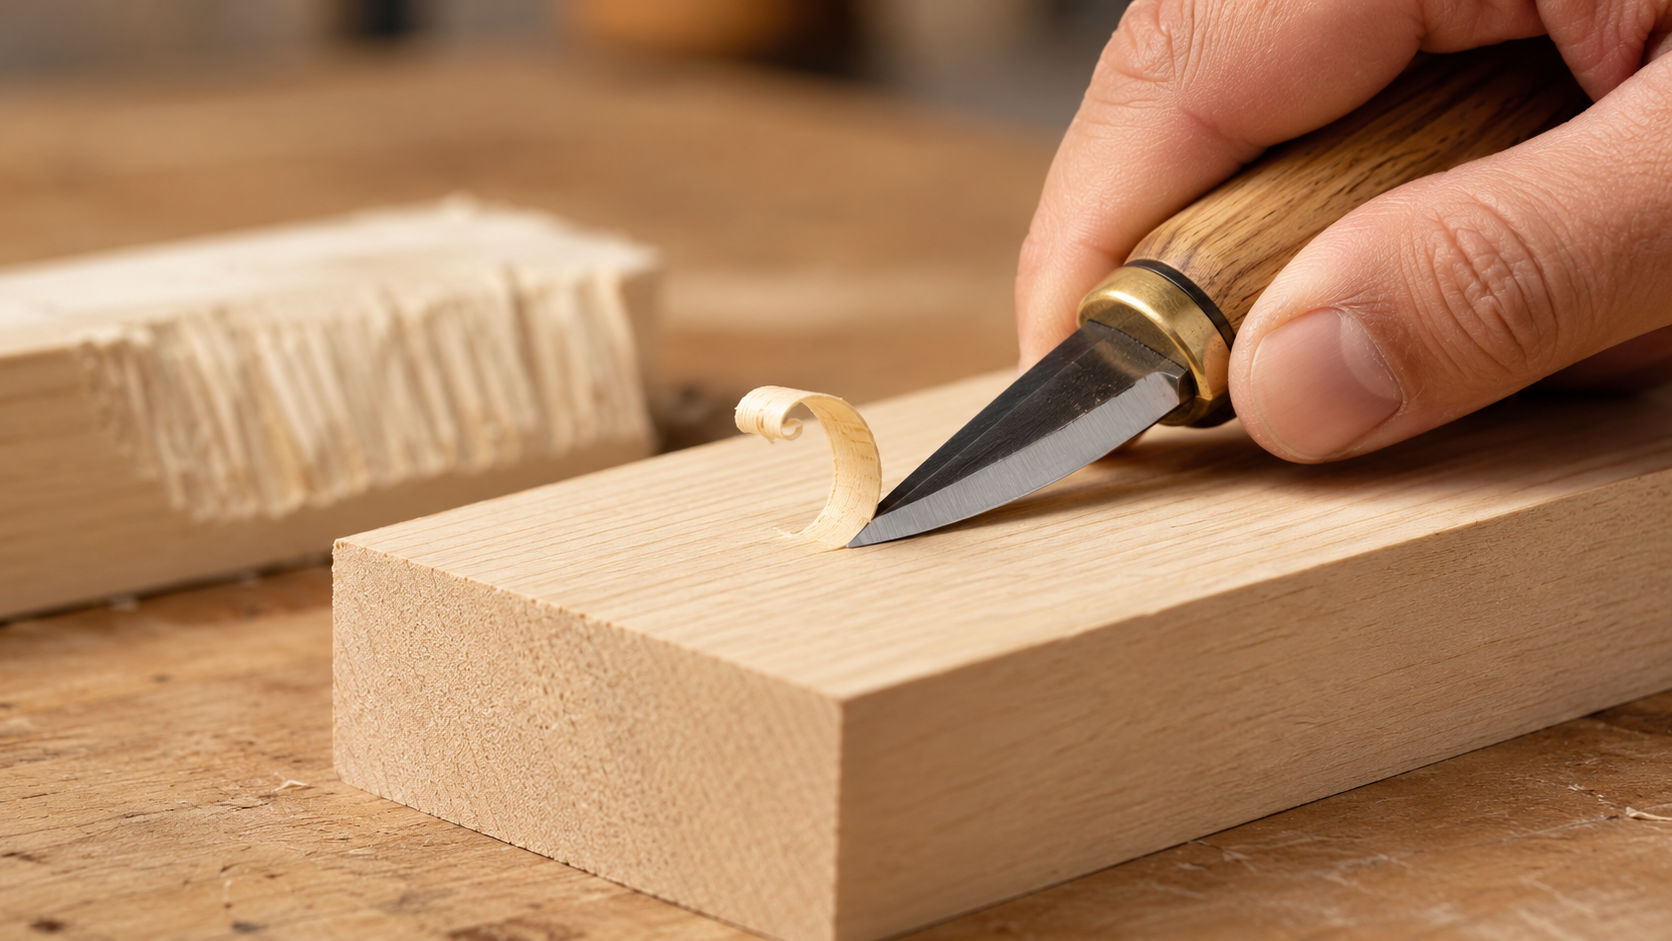
Understanding Grain Direction in Carving: How to Avoid Tear-Out and Splinters
Does your knife snag, the surface become rough, or does more wood suddenly break off than planned? Then you're probably carving against the grain. Beginners often mistake such tear-outs for a fault in the tool or the wood. However, often it's enough to change the cutting direction.
In short: Carve as much as possible in the direction where the wood fibers do not lift up, but can be cut cleanly. If the cut becomes rough, the knife lifts fibers, or it pulls an increasingly deeper chip from the wood, stop and turn the workpiece. A quick test cut usually shows the correct direction more reliably than looking at the grain.
In this guide, you will learn how to identify the grain direction in wood, what "carving with the grain" specifically means, and how to avoid tear-out in figures, spoons, and reliefs.
Table of Contents
-
What is grain direction in wood?
-
Why is grain direction important for carving?
-
How to identify grain direction?
-
Carving with, against, or across the grain?
-
The correct cutting direction for curves and depressions
-
What to do if the wood still splinters?
-
Simple exercise for beginners
-
Common mistakes
-
FAQ on grain direction
What is grain direction in wood?
Wood consists of elongated fibers that primarily run lengthwise in the trunk. On a cut piece of wood, they often appear as fine lines or as part of the visible grain. However, these fibers are not always perfectly straight. They can run diagonally, curve around knots, or change direction within a workpiece.
The grain is the visible pattern on the wood surface. The grain direction, however, describes the actual course of the wood fibers. Both are related, but not always clearly discernible from appearance alone. Therefore, a careful test cut is one of the most important habits in carving.
Why is grain direction important for carving?
When cutting with favorable grain direction, a sharp carving knife glides controllably through the wood. The chip remains small, and the surface becomes relatively smooth. If you cut unfavorably against rising fibers, the blade can get under the fibers and lift them. This creates rough spots, tear-out, or cracks.
The correct cutting direction offers several advantages:
-
The knife is easier and more controlled to guide.
-
Details such as noses, ears, fingers, or thin edges break off less frequently.
-
The surface becomes cleaner and requires less sanding.
-
You need to apply less force.
-
The risk of a sudden uncontrolled cut decreases.
Important: Even with the correct grain direction, the tool must be sharp. A dull knife crushes the fibers, requires more pressure, and can cut even soft carving wood uncleanly.
How to identify grain direction in carving?
There isn't just one method. The most reliable is a combination of looking, feeling, and testing.
1. Look at the side surfaces
Look for elongated lines on the wood. If they run diagonally to the surface, you can often see in which direction they exit the workpiece. Carve as much as possible so that the blade cuts the fibers downwards into the wood and does not lift them.
2. Check the end grain
On the end grain, you can see the cut fibers and often the annual rings. This helps you understand the basic structure of the wood piece. However, the exact cutting direction on a side surface cannot always be determined reliably from this alone.
3. Run your fingers over the surface
With clearly visible fibers, one direction may feel smoother than the other. This is an initial hint, but not always clear enough for fine-grained wood like basswood.
4. Make a shallow test cut
Position the knife in an area that will not be visible later and only remove a very thin chip.
-
If the knife glides smoothly and creates a smooth surface, the direction is usually correct.
-
If the knife snags, lifts fibers, or the cut suddenly deepens, stop immediately.
-
Turn the wood and test the opposite direction.
Mnemonic for beginners: If the cut becomes rough or the blade pulls into the wood, do not press harder – change direction.
Carving with, against, or across the grain?
With favorable grain direction
-
Recognizable by: The knife runs smoothly, and the chip remains controllable.
-
Result: A smooth surface with few tear-outs.
-
Recommendation: You should prefer this cutting direction.
Against rising fibers
-
Recognizable by: The blade snags or lifts individual wood fibers.
-
Result: A rough surface or even deep tear-outs.
-
Recommendation: Stop the cut and turn the workpiece.
Across the grain
-
Recognizable by: The blade cuts the fibers sideways and requires more pressure.
-
Result: This direction is suitable for boundaries and details but creates more resistance.
-
Recommendation: Work with small and controlled cuts.
Into the end grain
-
Recognizable by: You are cutting directly into the visible ends of the wood fibers.
-
Result: The knife encounters significantly more resistance.
-
Recommendation: Use a very sharp tool and remove only thin chips.
"Carving with the grain" does not mean that you can only cut in one direction throughout the entire project. As soon as you form a curve, depression, or three-dimensional figure, the angle between the blade, surface, and grain changes. Therefore, you must regularly turn the workpiece and work from different sides.
The correct cutting direction for curves and depressions
For a straight block of wood, the grain direction is often still easy to assess. It becomes more difficult when a figure, a spoon, or a relief is created from the block.

Outer curves
For outer curves, usually work from higher areas to deeper areas. However, never blindly follow this rule: as soon as fibers lift, change direction. At the highest point of a curve, cuts often meet from two directions.
Depressions
For hollows and depressions, you often work from both edges controllably towards the lowest point. A stop cut can secure the desired boundary and prevent a chip from running past it.
Thin and delicate details
Ears, beaks, fingers, leaves, or narrow handles should not be worked with long, powerful cuts. Carve with small chips towards the more stable area. Support delicate parts as much as possible with your fingers, without bringing your hand in front of the blade.
Areas with changing grain
Around knots and irregular structures, the grain direction can change quickly. Here, only very shallow cuts, a sharp tool, and frequent changes in working direction help. For initial projects, uniformly grown, knot-free wood is therefore much more pleasant.
What to do if the wood still splinters when carving?
Not every tear-out is solely due to the grain direction. Check the following points:
Change cutting direction
This is the first measure. Turn the wood 180 degrees and try a thin cut from the opposite direction.
Remove less wood at once
Deep cuts can continue uncontrollably even in soft wood. Take several thin chips instead of one large chip. This takes hardly any longer and gives you more control.
Sharpen or strop carving knife
A sharp edge cleanly separates the fibers. If you need a lot of pressure or the surface appears crushed despite the correct direction, you should check your knife. Regular stropping on a leather strop with polishing compound is often sufficient. For a damaged or truly dull edge, a suitable sharpening stone is required.
A detailed guide can be found in the article How to properly sharpen my carving knives?.
Use suitable carving wood
For beginners, uniformly grown, dry, and as knot-free wood as possible is ideal. Especially basswood for carving can be worked finely and controllably. Swiss pine and alder are also good for carving, but may react somewhat differently depending on the grain.
If you want to compare wood types, our guide Which carving wood is suitable for beginners? will help you.
Position the tool appropriately
A carving knife is ideal for many shapes. For narrow depressions, grooves, or relief details, gouges and V-tools are often more controllable. An overview is provided in the article What tools do I need for carving?.
Simple Exercise: Understanding Grain Direction in Five Minutes
For this exercise, you only need a small, straight block of wood and a sharp carving knife.
-
Draw an arrow lengthwise on two opposite sides.
-
On the first side, cut a very thin chip in the direction of the arrow.
-
Next to it, make an equally shallow cut in the opposite direction.
-
Compare resistance, sound, and surface.
-
Mark the direction in which the cut was cleaner.
-
Then lightly round an edge and observe where you need to change the cutting direction.
This small exercise provides more feel for wood than a long theoretical explanation. Use a safe base, never hold your free hand in front of the blade, and ideally wear appropriate cut-resistant gloves.
If you want to practice the most important knife movements first, also read our article Carving Techniques for Beginners: Stop Cut, V-Cut, Push-Cut, and Pull-Cut.
Common Mistakes When Carving According to Grain Direction
Applying more force when the knife snags
This is the most common mistake. More pressure does not make the cut cleaner, but harder to control. Stop, check the edge, and change direction.
Relying only on visible lines
The visible grain is a hint, but not a foolproof plan. A test cut shows you how the fibers actually behave at that particular spot.
Removing too large chips
The larger and deeper the chip, the higher the risk that it will tear further beyond the planned spot. Work incrementally, especially with details.
Not turning the workpiece
Good carvers constantly change the position of the wood. The correct cutting direction is more important than a comfortable but unfavorable hand position.
Working with a dull knife
Even perfect reading of the fibers does not replace a sharp blade. Suitable carving knives and carving tools as well as regular maintenance significantly facilitate clean cuts.
Conclusion: The wood shows you the right cutting direction
Recognizing grain direction is one of the most important basics in wood carving. Observe the grain, start with a shallow test cut, and pay attention to the resistance. If the surface becomes rough or the blade lifts fibers, turn the workpiece and cut from the opposite direction.
For beginners: sharp tools, thin chips, and frequent turning of the workpiece. With this simple approach, you will avoid many tear-outs and quickly develop a better feel for the material.
Would you like to try the technique directly? In our shop, you will find carving wood for beginners, suitable carving blanks and carving tools for your next project.
FAQ: Frequent Questions About Grain Direction in Carving
How do I identify the grain direction in wood?
Look for elongated lines on the side surfaces and make a shallow test cut. If the knife runs smoothly and the surface remains smooth, the direction is favorable. If fibers lift or the cut suddenly deepens, turn the workpiece.
What does "carving with the grain" mean?
Carving with the grain means cutting so that the blade cleanly separates the wood fibers, rather than getting underneath them and lifting them. This results in smoother surfaces and less tear-out.
Why does my wood splinter when carving?
Common causes include an unfavorable cutting direction, too deep cuts, a dull tool, knots, or irregularly running fibers. First change the direction, then remove only thin chips.
Can you carve across the grain?
Yes. Cross-cuts are necessary for boundaries and details, for example. Since this creates more resistance, you should use a sharp tool and work with small, controlled cuts.
Do I need to turn a workpiece when carving?
Yes, especially for figures, curves, and depressions. The favorable cutting angle changes with the shape. Regularly turning the workpiece is normal and helps to avoid tear-out.
Which wood is suitable for practicing grain direction?
Straight, as knot-free basswood as possible is particularly suitable. It is fine-grained, can be cut controllably, and immediately shows whether the knife and cutting direction are correctly chosen.
Does sanding help against torn wood fibers?
Slightly rough areas can be sanded down. However, deep tears can change the shape of the material. It is better to change the cutting direction early and clean up the area with a sharp tool.